
Indoor Navigation system for Visually Impaired
PROJECT DETAILS
An indoor directional system to assist a visually impaired individual in an indoor space to reach their desired location. The system consists of wearable that orients the visually impaired individual through haptic feedback.
MENTOR:
Madeleine Cordier, Zoe McCloskey
MY ROLE
Design Strategy, User Research, Prototype, coding
DURATION
6 Weeks
TEAM:
Jayee Dhawan
TOOLS
Adafruit Circuit Playground, Processing, Arduino, Figma

How do those with
Visual Impairments Navigate?
In outdoor spaces those with vision impairment make use of Google maps, audio feedback and tactile tiles to help the person navigate.
Limitations and challenges
-
In busy streets it is difficult to hear the audio feedback clearly.
-
There is no standardized indoor navigation system.

Feeling of being independent
What do they expect?
Passive guidance
Virtual assistance with first time walks
HMW create a navigation system that helps with smooth indoor navigation and helps those with visual impairment feel self-reliant?
Introducing
Buzz Nav
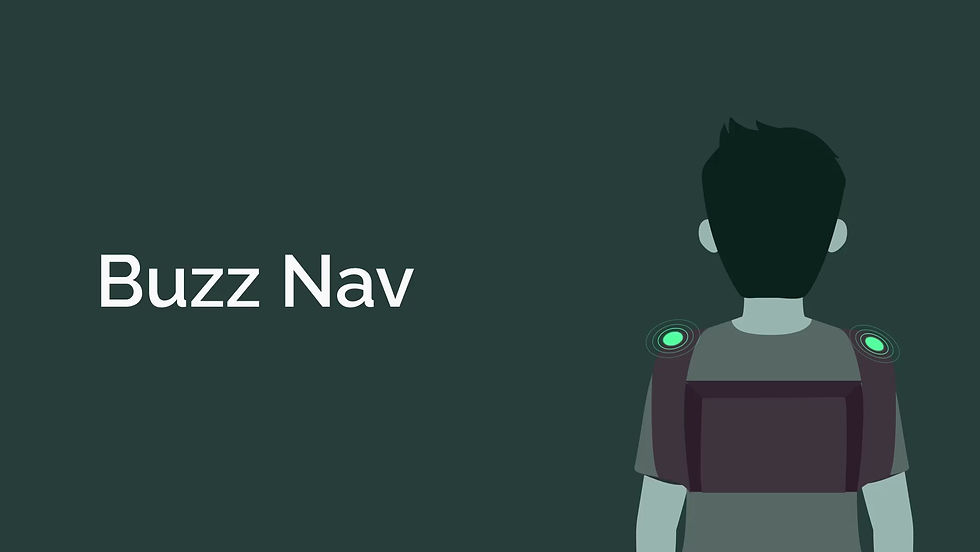
Give feedback through
Haptics
wearable
Guidance using
Calm Technology:
Haptic Interactions and Operations
Different vibration patterns were tested and applied for haptic feedback with appropriate intensity

CONCEPT
A wearable that gives haptic feedback to those having issues with visual accessibility in an indoor space


Communication between
Wearable and the Environment

PLACEMENT OF SENSORS IN INDOOR SPACE


Person

Environmental sensors

Haptic Feedback
Exploring
Technologies for the Navigation system
PRIMARY TOOLS

EXPLORATION 1
Arduino- Time of Flight Sensor


Placing Time of Flight sensors near turnings in an indoor space.
Connecting them to communicate serially and send a haptic feedback to the person as he approaches each of them.
Limitations:
Establishing serial communications and synchronously sending haptic feedback was out of scope.
EXPLORATION 2
Estimote Beacons


Placing Estimote Beacons near turnings in an indoor space.
Connecting them to communicate serially and send a haptic feedback to the person as he approaches each of them.
Limitations:
Combining codes from Arduino and Beacons was complex and out of scope
Wizard of Oz
Prototype
A Remote Guide


Visually impaired person sends an audio input to the guide about the indoor destination he wants to go to.
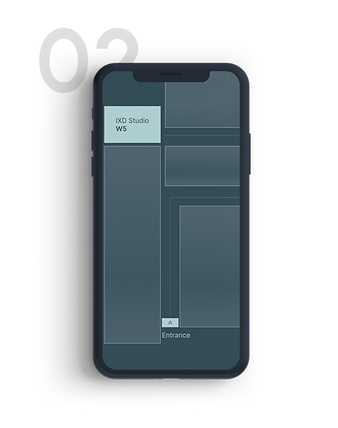
As the guide receives an a assistance request, he foresees the path of the visually impaired person and start giving directions using the visual direction cues on his phone.
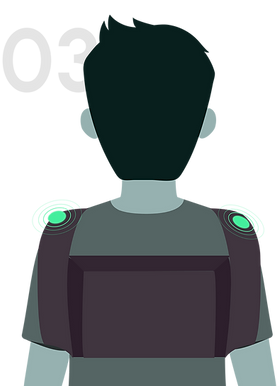
As per the direction inputs given by guide, the smart wearable will output haptic feedback to orient the person accordingly.
Remote Communication
Exploring


BLUEFRUIT AND IT’S NATIVE APP
Next, we worked with Bluefruit Circuit playground to connect another circuit to establish a stronger connecting than IR. It’s native app allows basic functionalities like NeoPixels, control panel, sound etc.
Limitations:
Connection between circuit and the app wasn’t staying constant. It was mainly obstructed due to multiple bluetooth devices in the same room.
CPX TO CPX BY IR SENSING
Connecting one Circuit Playground to another and send signals via it’s IR sensors.
Limitations:
Weak IR receiver and no 360 degree cover for range.

Final Setup
Navigation System
GOOGLE TEACHABLE MACHINE AND PICTOBLOX
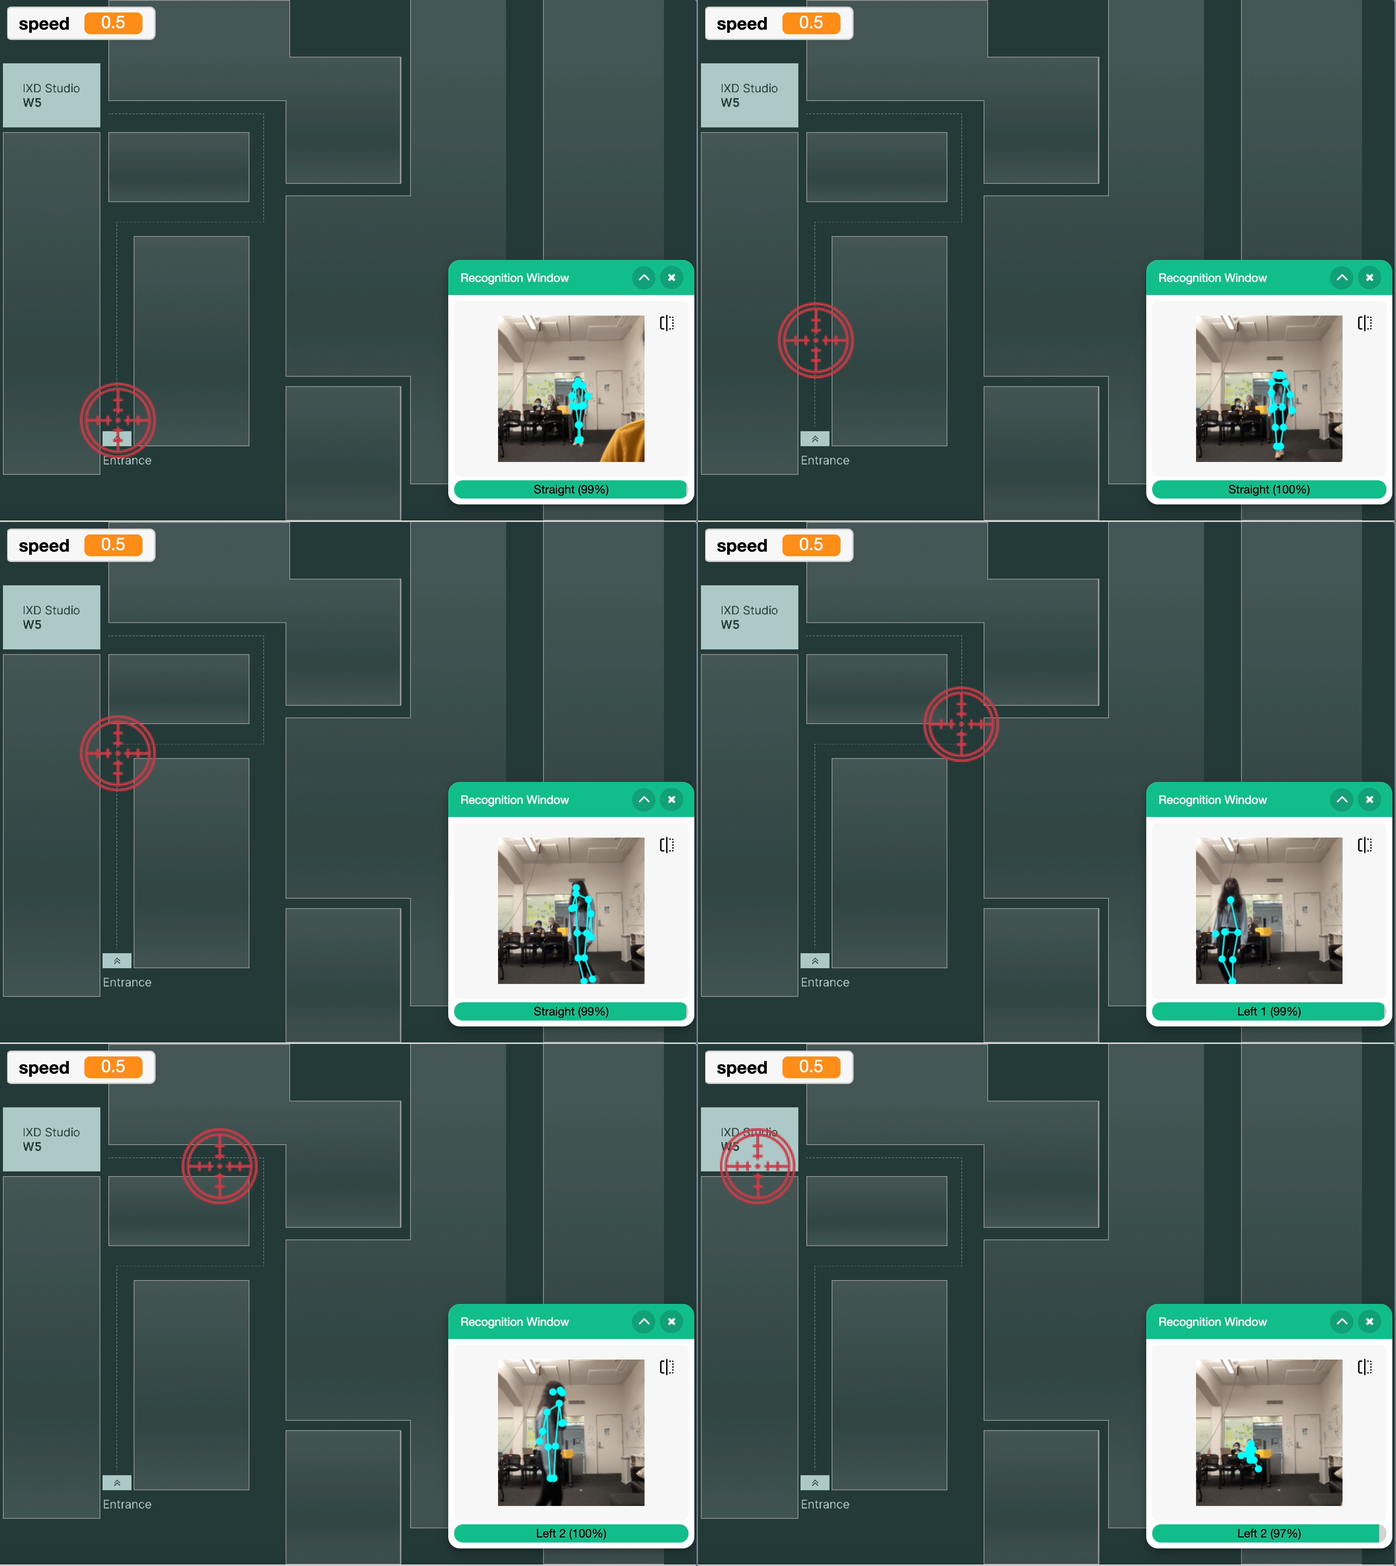
Training postures in Teachable Machine to let the machine learn about turns and accordingly display directions for the guide on the map.


Navigation system with Google Teachable Machine
Training the

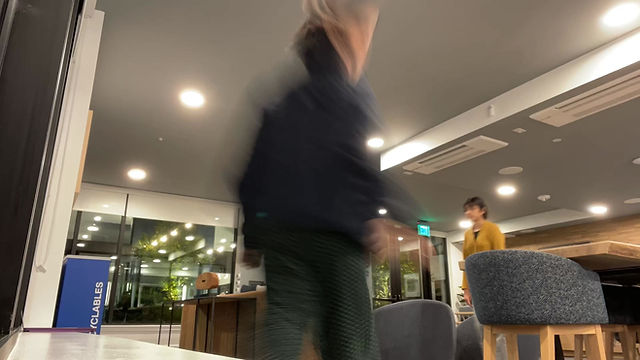
We plotted a path for prototype demo purpose and trained using Google Teachable Machine and coded with Pictoblox. This would help the guide track the movement of VI person in the indoor space and assist him with directions by sending haptic feedback to the wearable through signals.

IR Communication
Setting up


Assembling the Physical Prototype

Safeguarding the complex wiring and Adafruit circuit Playground

Making sure the vibration motors lie near the shoulders and the IR sensors lie on top

The joy of putting it all together! 😛
Final Wearable Prototype Form


IR LED To give visual feedback to guide for prototype demo purpose
Power source
Box inside contains Adafruit Circuit playground and other connections
Vibration motors to give haptic feedback
Prototype
Testing


The prototype was tested multiple times to check the haptic feedback. The participants were asked to close their eyes and test the prototype. Before starting the experience, they were given a walkthrough about the different patterns of haptic feedback for identifying directions.
INSIGHTS
Different vibration patterns, were distinctly identifiable
The haptic feedback was easy to follow
Could the form be little more subtler and less bulky?
The form of the prototype was comfortable to wear.
ENVISIONED
Prototype Form

A Clip on Wearable
A clip on wearable that can be worn on any kind of clothes and a more compact form that blends in effectively
Learnings
-
Prototyping is not about creating high fidelity products, but to convey how exactly the product is supposed to serve its purpose.
-
Got to explore and learn about enormous number of technologies.
-
I also started paying greater attention to detail post the course.
Next Steps
-
Exploring scalability to making a standardized Indoor Navigation System.
-
Eliminating a physical and bulky wearable and integrating a seamless intervention or a physical form that blends with any type of clothing.